OpenDNS for the Nintendo Wii 
written by Seg
Overview for Nintendo Wii
- Set up initial internet settings.
- Click Wii Options.
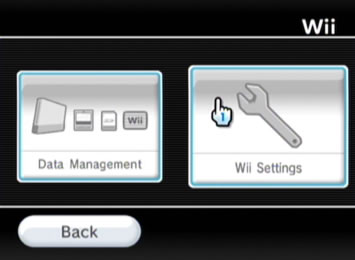
- Click Wii Settings.
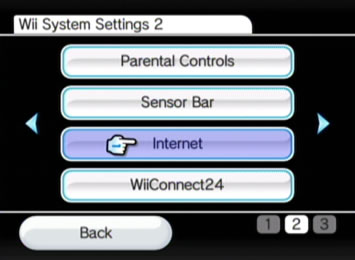
- Click Internet.
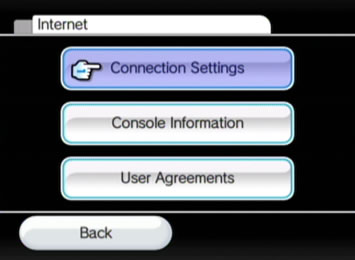
- Click Connection Settings.
- Click the Connection Profile you are using.
- Click Change settings.
- View Auto Obtain DNS settings.
- Click No then Advanced Settings.
- Click on the Primary DNS and Secondary DNS fields and type in the OpenDNS addresses.
- Click Confirm.
- Click Save.
- Click OK to start the connection test.
- When successful, select Yes to perform a Wii system update.
- Return to the Wii Menu.
1. Set up initial Internet settings.
Before you begin, please make sure your Wii is set up with internet access. If you are having problems with this step, Nintendo offers a Wii setup guide to help you. Once your Wii is working with your internet connection (wired or wireless), follow the rest of these steps.
2. Click Wii Options.
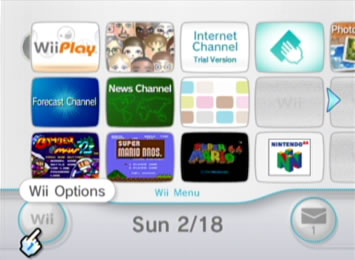
3. Click Wii Settings.
4. Click Internet.
You will need to click on the right arrow once to view the 'Internet' option.
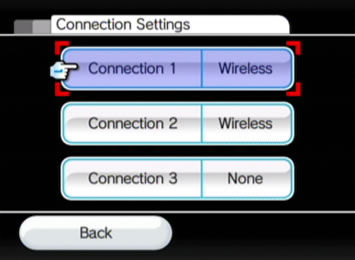
5. Click Connection Settings.
6. Click the Connection Profile you are using.
In this example, we will select the default, connection 1. Choose the connection setting you currently use.
7. Click Change settings.

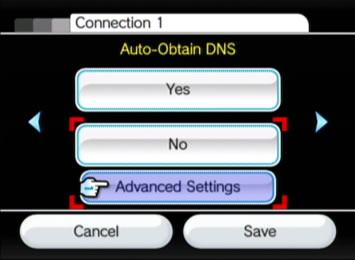
8. View Auto-Obtain DNS settings.
Click the right arrow three times till you view the Auto-Obtain DNS settings.
9. Click No then Advanced Settings.
10. Click on the Primary DNS and Secondary DNS fields and type in the OpenDNS addresses.
Preferred DNS server address for Open DNS is:
- 208.67.222.222
Alternate DNS server address for Open DNS is:
- 208.67.220.220
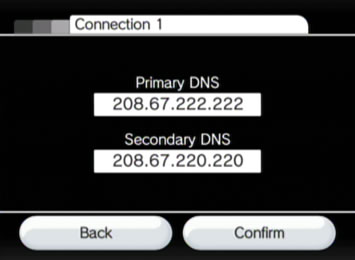
11. Click Confirm.
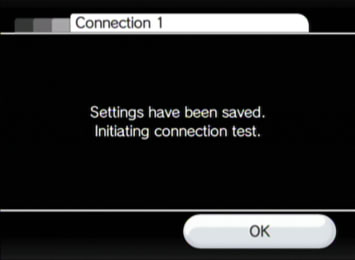
12. Click Save.
13. Click OK to start the connection test.
Your Wii will test the connection. If the connection was working before, everything should be working.
14. When successful, select Yes to perform a Wii system update.
You Wii will update if needed. When done, confirm all dialogues if applicable.

15. Return to the Wii Menu.
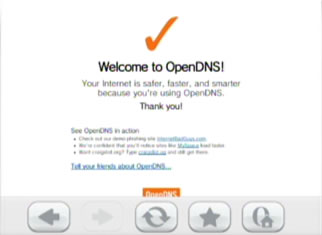
Visit http://welcome.opendns.org/ to test your new settings.
If you have the Internet Channel, visit the Welcome page from OpenDNS. You should see the following screen below:
Troubleshooting
If you see the Oops page, please try two more tests, in case the Welcome page was improperly cached.
- First, visit our demonstration site internetbadguys.com. If you were successful in switching to OpenDNS, it should be blocked as a phishing site. Otherwise, it will tell you that it's a demonstration site.
- Second, make a deliberate typo in the TLD, like craigslist.og and see if it resolves to craigslist.org. If you are using OpenDNS, you will be taken to the classifieds site. If you are not, you will get your default browser error page.
Still not working? You may need to restart your web browser and/or router.
Please let us know if you're still running into problems.
